
|
Edward Lowton
Editor |


|
| Home> | Production Engineering | >Quality and tolerance testing | >Force and material testing solutions |
Force and material testing solutions
23 February 2016
Starrett’s recently launched turnkey system solutions and test frames for materials testing, force analysis and force measurement have been designed to simplify the creation and performance of the test function, as well as the management of test results with software using SI or Imperial units.

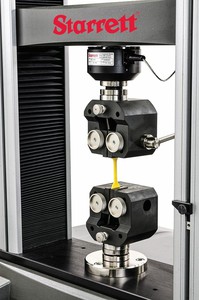
High grade materials and precision components are used to ensure any test procedure and resultant data created is produced on secure foundations. Solid granite bases are used for stability while an extruded aluminium column structure, joined to the granite base with a large platform, ensures rigidity. Adjustable over-travel limits prevent accidental overloading and integrated bellows protect the mechanical motion controls from debris.
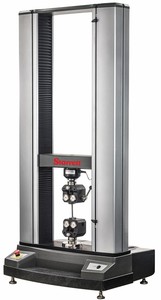
Test frames for material measurement and force measurement are available in single column format for maximum load capacities of 500N, 1000N, 2500N and 5kN, and dual column for 10, 30 and 50kN. The vertical test space ranges from 559mm in increments to 1270mm for both the material and the force measurement testing frames, which provides plenty of sample material space.
For efficient loading and positioning the maximum vertical travel rate of 1525mm/min applies to all testers. However, the minimum speeds differ; the force testers’ travel is controlled down to 0.05mm/min, while the material testers go to a lower 0.001mm/min to ensure maximum data capture at the point of yield or fracture.
Starrett has created software to make creating and performing a test, analysing test results and managing test data easier. Designed to meet the requirements of today’s research scientist, design engineer, quality manager or technician responsible for material characterisation, verification and validation, the Starrett L3 System is an example of this.
SPO Metrology business manager, Brian McLay, explains: “Unlike traditional material testing systems that require programming and prior knowledge regarding what measurements are required , L3 systems employ a simpler methodology. The user creates a test method, and that creates a graph. Then it is simply a matter of measuring on the graph using a set of analysis tools.”
Any point, or any segment, on the graph can be measured. Analyse using stress, strain, load, distance and time, with measurements displayed on the graph and shown in data tables with statistics and tolerances. Tests can be carried out using tension, compression, flexural, cyclic, shear and frictional forces.
Designed for advanced force measurement and analysis, Starrett L2 Plus Systems have been optimised for quality and engineering staff, with intuitive and efficient test set-ups. It not only captures the measurement, but also has the information that shows ‘why, when and where’ the measurement occurs.
“Again, measurements and analysis are performed graphically using a Windows-based, all-in-one PC workstation. High resolution graphs based on load, distance, height and time can be fully interrogated using the Starrett analysis tools,” Brian McLay states.
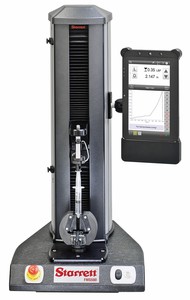
For applications such as high-volume in-situ production, incoming inspection and validation, or basic force measurement, the Starrett L2 System provides a cost-effective and easy-to-use solution. The small footprint makes them ideal for lean manufacturing environments and tests can be set-up in seconds using templates or created using the L2 Test Builder. No programming experience is required.
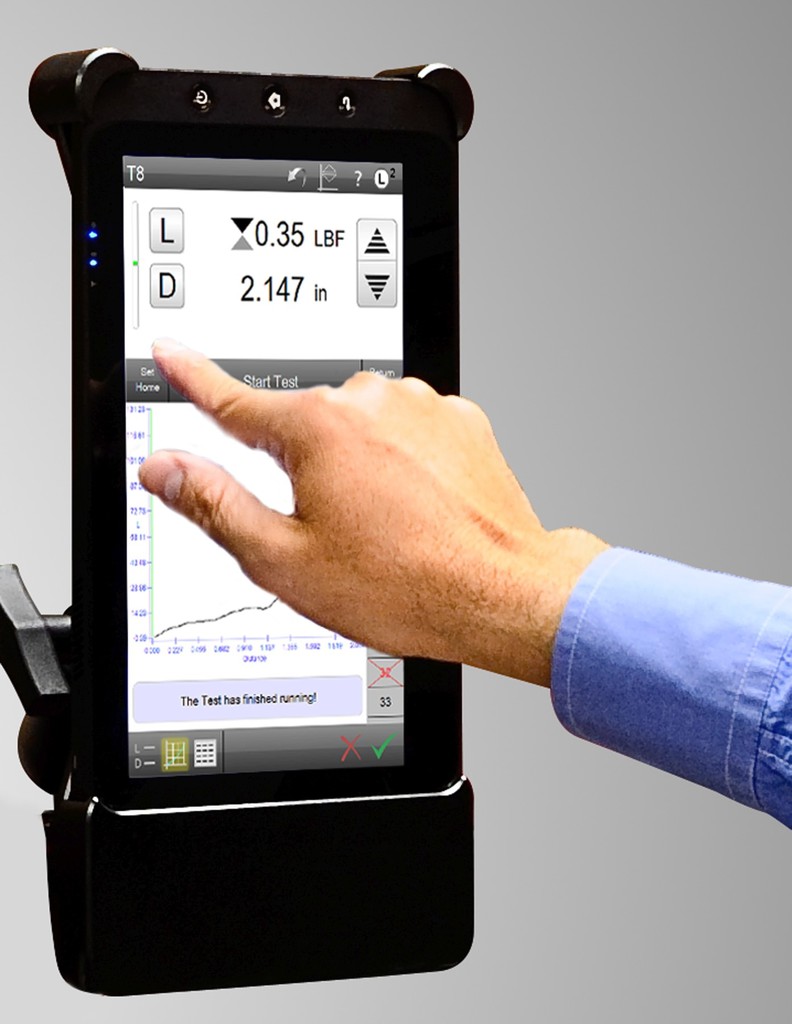
Operating from a Windows-based tablet PC; load, distance and time-based results are displayed in a large format for easy interpretation. Graphical results from each test can be displayed and data tables show results with tolerance and statistical calculations. Standard reports are included or the data can be exported for use with other applications.
“Optionally, any of these systems can be interfaced with additional instrumentation for factory automation applications or where more advanced and complex measurements are required using the Starrett Automation Builder,” Brian McLay says. “This software package can be used to incorporate conditional logic within a test set-up, and it can link equipment through digital and analogue I/O signals.”
For an easy-to-use measurement system for accurately and precisely determining spring rates, spring constants, spring lengths and other spring characteristics, the Starrett S2 systems provide a solution. They are suitable for high volume production testing and quality control including incoming checks, as well as research and design engineering.
S2 systems can be used for compression and extension springs with load ratings up to 50kN or 5000kgf. Starrett has developed simple, fill-in-the-blank test set-ups that allow springs to be tested and validated in as few as three steps. Additionally, test results can be viewed, graphically displayed and reported, with the ability to export results or raw data at up to 1000Hz.
Reflecting the accuracy of the testing system, Starrett’s comprehensive range of load cell sensors for each testing type are all supplied with a NIST-traceable Certificate of Calibration. All sensors are ‘plug and play’ and are available in ranges from 5N to 50kN. Measurement accuracies of ±0.05% of reading down to 1/100 of sensor capacity can be achieved.


